CSSCurrent en:Freeing Disk Space
Remove old kernels
During the lifecycle of an appliance, it may have gone through several updates, including kernel updates. The old kernels are not deleted by default and have to be removed manually. Each installed kernel takes up about 100–300 MB of disk space. This article explains how to remove these unused kernels from the appliance.
To remove old kernels, please proceed as follows:
- Reboot the system to ensure that your system is booting the most recently installed kernel.
- Display the kernel version in use and write it down for the duration of this tutorial. The output may look as follows:
cryptshare:~ # uname -r
4.4.104-39-default
- Display all installed kernels.
cryptshare:~ # rpm -qa | grep -i kernel
kernel-default-4.4.104-39.1.x86\_64
kernel-firmware-20170530-14.1.noarch
kernel-default-4.4.104-18.44.1.x86\_64
- Only consider the entries containing "kernel-default" or "kernel-desktop". As you can see in this example, a kernel version older than the one currently in use is installed: kernel-default-4.4.104-18.44.1.x86\_64
- Start with the oldest installed kernel and remove it from the system as follows.
cryptshare:~ # zypper rm kernel-default-4.4.104-18.44.1
Loading repository data...
Reading installed packages...
Resolving package dependencies...

The following package is going to be REMOVED:
  kernel-default-4.4.104-18.44.1

1 package to remove.
After the operation, 238.0 MiB will be freed.
Continue? \[y/n/...? shows all options\] (y):
- Carefully read through the package removal summary and, once confident with the correctness, confirm by pressing Enter. (Hint: additional packages such as vmware-guest-tools may also be listed for removal - this is fine.)
- Repeat the above step for all kernels that do not match the kernel currently in use.
- After zypper has finished the removal process, you've successfully freed disk space.
Limit the size of journal logs
This article describes how to limit the size of the journal logs. Since the journal logs are likely to grow up to hundreds of MB, they might occupy a significant amount of disk space on your Cryptshare Server. To limit the size of the journal logs to 10MB, please follow the instructions below:
- Connect to your Cryptshare Server via SSH
- Verify current disk space usage:
df -h
- Limit the size of the journal:
sed -i -e 's/#SystemMaxUse=/SystemMaxUse=10M/' /etc/systemd/journald.conf
- Restart the journal daemon:
systemctl restart systemd-journald
- Verify that the disk space usage went down:
df -h
Extend the Disk Space of your Server
Linux
Windows
Read this Microsoft Technet Article for detailed instructions.
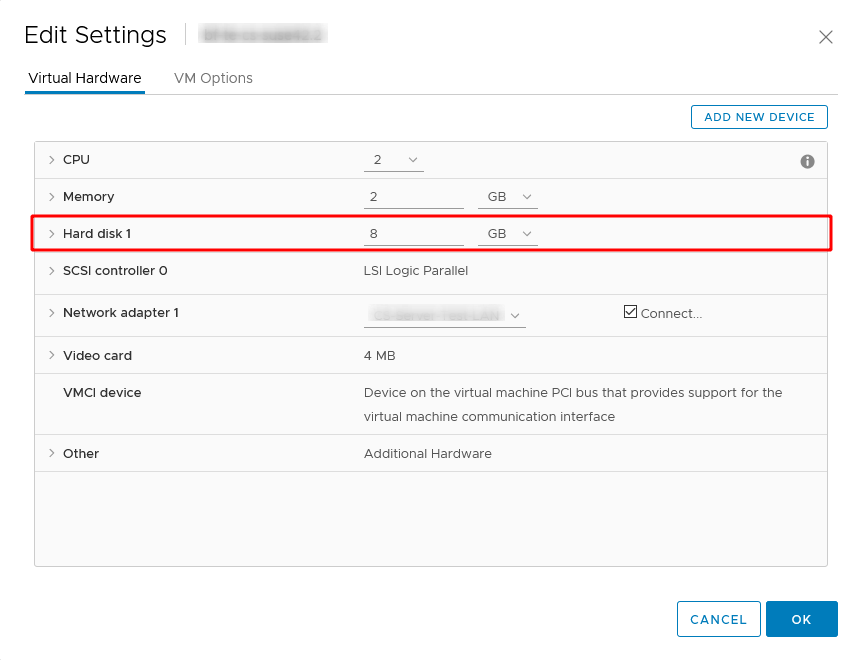
- Change the virtual disk size in your vSphere Client
- Start your Windows Host
- Open the Windows Disk Manager
- Select the volume you want to extend
- Click 'extend Volume.' and follow the instructions
Azure
- Attach a data disk to your VM like described in following article:
https://docs.microsoft.com/en-us/azure/virtual-machines/linux/attach-disk-portal Please note: you do not need to perform the task Connect to the Linux VM to mount the new disk 2\. Perform the following commands:
wget https://update.cryptshare.com/cryptshare/scripts/cs-appliance/attachHDD.sh
sh attachHDD.sh
